
(Continued From Part 1.)
Design Features and Customizations
Every place I’ve ever lived had a large living room and a smaller kitchen. I made the kitchen the largest room in the house since we spend a lot of time cooking, baking, and playing board games. There’s a loft on both sides of the kitchen leaving an 18’ ceiling with a large skylights above, giving the room a much larger feeling as well as making it bright and cheery, even on cloudy days. There’s a large 4’ x 6’ picture window to enjoy the view. The cat wanted 8” wide window sills, he got 12”. When the sills are not covered with trays of tomato seedlings in the spring, he’s stretched out catching some rays and napping while he dreams about where to hunt next after he wakes up.
Solar panels were a must and my son and I installed them while Uncle Sam was still paying for 30% of the cost in the form of a tax credit. The shop was designed so the south-facing roof was at the precise angle needed for solar panels at my latitude.
The plumbing/sewage system needed to be more bomb-proof than most and built with lots of stubs for adding various plumbing projects later on. These included an outdoor shower, solar water heater, rocket-stove water heater, sink for the garden shed, Amish clothes-washing system, and my backup water system which runs off a 12VDC RV water pump. The main waste line is one long straight run with each individual item plumbed straight into it. The kitchen and bathroom sinks, the shower and toilet plumbing all have their own dedicated line to the main waste line.
I added some “what-if?” features. The floor on one side of the loft is made with 2 x 10’s on 12” centers to give me the option of moving my 500-gallon water tank there. If the SHTF I can gravity feed water into the plumbing system if necessary. The shop and house have the same exterior finish and the shop is designed and put together in such a way so if ever needed, it can be easily converted to a house. The bathroom floor is flat for the lovable loo but there’s a pilot hole in the floor and a screw-on piece to add to the plumbing underneath the floor if a flush toilet is ever needed. It will take longer to go buy a toilet than to hook up the plumbing.
The kitchen cabinets were the biggest accomplishment of the entire construction project for me. I built them at a third of what it would have cost to have a cabinet shop do them. I got a steal on a Grizzly cabinetmaker’s table saw: half price when it was five weeks old. Then I bought one of the 100-page 8½” x 11” books I mentioned: Building Kitchen Cabinets Made Simple by Gregory Paolini. It demonstrated how to make only one type of cabinet: Shaker style. It was simple and straightforward with about two-thirds of the booking being photographs. “I can definitely do this myself!”
The cabinets are customized to my specific dishes, bakeware, and small appliances. The pantry shelves are specifically spaced for pint, quart, and two-quart jars. My baking cabinet has shelves ranging from two to six inches apart to fit groups of like items: baking sheets, cutting boards, pie tins, etc. Each shelf has a spacer block in the back to keep each group aligned with the front edge of the cabinet. No more feeling farther back to find anything.
Most cabinets have a dead space in the back where two bottom cabinets come together at right angles. Generally, a Lazy Susan is put there. Instead of that, I made a removable false wall to hide the dead space. The rest of the cabinet has a single removable shelf, the false wall slides out, and the 24” x 24” x 28” space holds my canner, pressure canner, and various canning tools. Since they’re only used during one season of the year, it’s a perfect place to store them. The pantry doors have pieces of glass I had been holding onto for 30+ years. I removed them from the abandoned house on the acreage my great-grandparents had homesteaded in Wyoming.
I don’t consider building my house a “huge” accomplishment, I had most of the skills and it was a matter of putting it all together. It’s something many people could do if they put their minds to it. I usually reply to comments, “Yeah, I like how it turned out.” But sometimes when I’m sitting in my reading chair all these years later and look into the kitchen and pantry at the cabinets, I still think to myself, “Wow! I can’t believe I made those!” I knew nothing about the topic when I started, they turned out very professional looking, and it’s the only part of the house I consider a huge challenge and accomplishment. The rest is something a lot of people can do if they decide to. If I had a grandchild sitting on my knee, right about now is where I’d say, “We can do just about anything we set our minds to if we really want the thing bad enough. Sometimes we have to lay aside our worries and just give it a shot. We’ll often surprise ourselves.”
The house was finally finished enough so we could move in.
Further Development of the Homestead
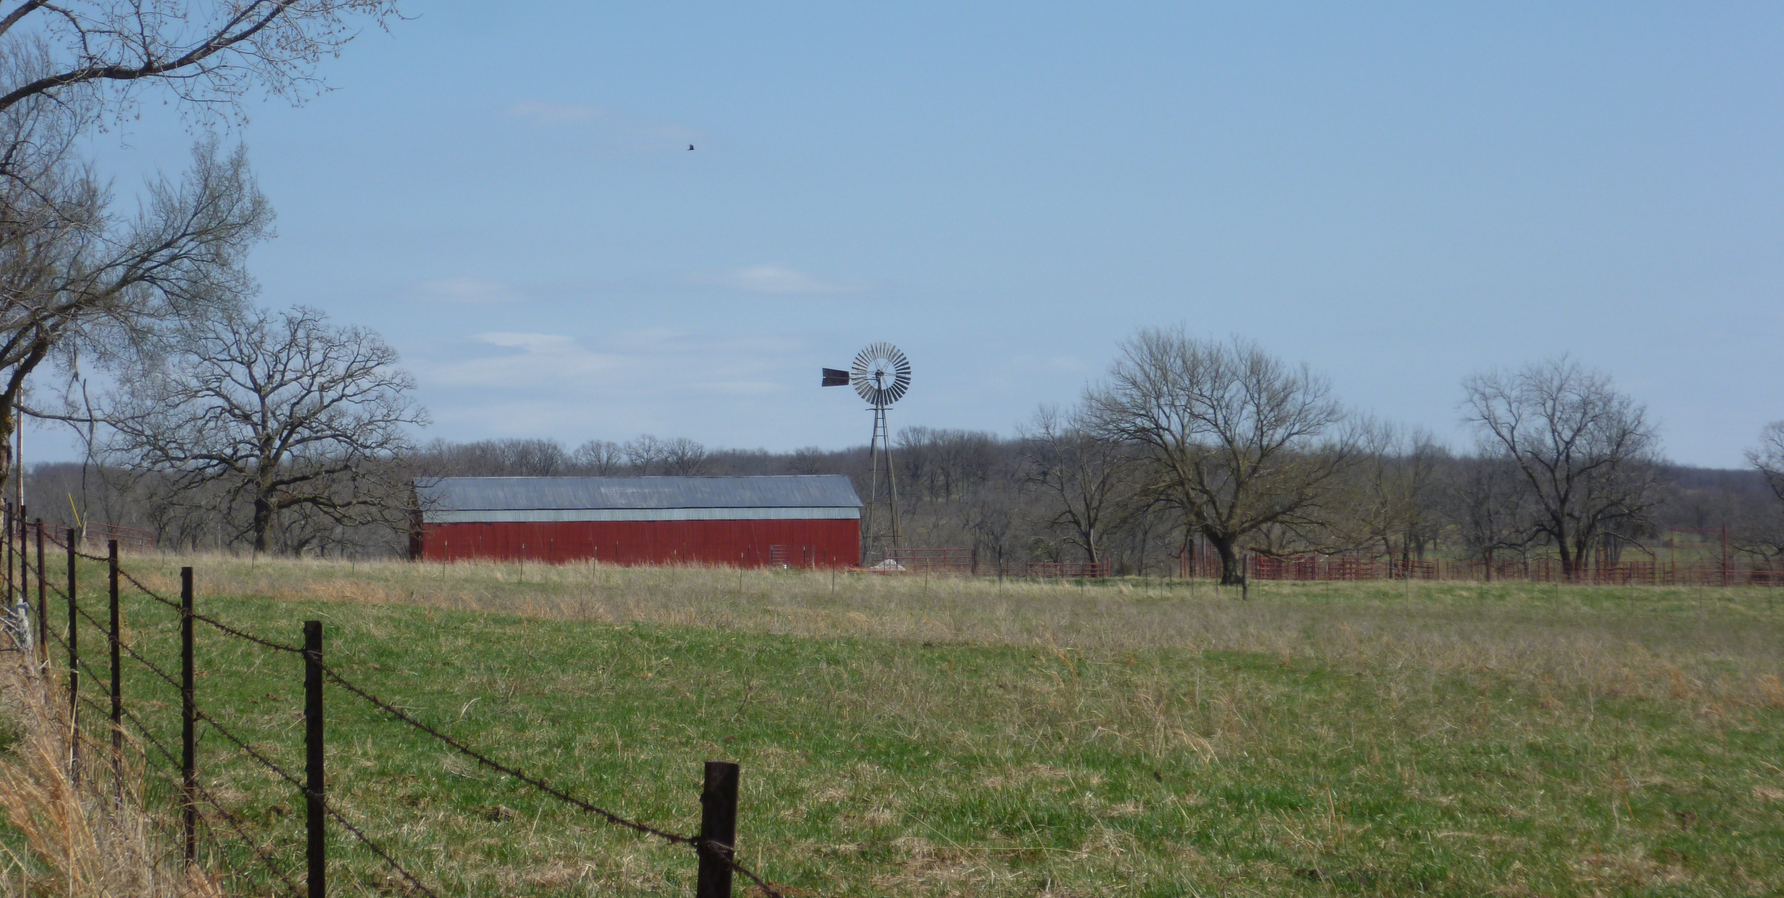
As mentioned, during the first winter, a 3-acre section of what was to become the yard, garden and north pasture was fenced off with barbed wire. It took three years of mowing to develop the pasture and the “lawn” enough to permanently choke out the weeds and brambles. After moving into the house, a small orchard was planted and the garden was separately fenced off and terraced where needed. The $50 rototiller I bought at an auction was put to use and we moved the compost pile over from the house we had rented, then tilled it in.
With the house completed enough to be lived in, and not having to commute back and forth from the rented house, other projects were finished up more quickly. A chicken coop was completed right before the spring chicks showed up at the farm store. The curious hen that was always looking in our windows we called Gladys Kravitz. The friendliest but very plain-looking one was Jane. Who would have thought chickens could be so individual and such characters? The rest of the chickens were nice but Rocky the rooster was always ready for a fight. Sometimes I lost. The shop was finished up, customized to my specs for a woodworking shop. An addition was added to one side of the building, then divided into a storage room and garden “shed,” each with their separate doors. Decks and porches were added to both the house and shop.
I had an old push mower I’d been using just to keep the weeds down around the construction areas. After moving in, I bought a $2,000 well-maintained John Deere riding mower with only 200+ hours on it at an auction for $275. A few years later when all the larger rocks had been tilled out of the garden with the $50 tiller, I bought a $1,500 top-name rear-tine tiller for $225 at an auction. When you buy your house in the country, be sure they have a lot of local auctioneers!
Many of these items such as the push mower, rototiller, table saw, and others were purchased before they were needed, allowing me time to check the auctions and get the best prices I could. Planning ahead like that saved thousands of dollars. Before I even bought the property I knew I’d be needing lots of rocks for masonry projects so anytime we were on a drive in the country, or even just driving to town, I kept an eye out for suitable flat rocks. Road cuts were especially fruitful areas after wintertime freeze/thaw cycles break off new chunks. By the time we moved into the house, I had quite a pile of masonry stones which have been put to use for various projects. It wasn’t fun moving the pile from our rented house to the homestead.
Many of the homestead projects weren’t urgent so they were built as time and finances allowed. That also gave me more time on some, such as a greenhouse, to ruminate over the best design and location. Our county recycling center lets you take whatever you want from their piles at no cost. I was able to collect all the glass I needed to build a greenhouse, including many large double-pane pieces salvaged from sliding glass doors.
By keeping my eyes peeled for these types of resources, being creative, and honing my re-purposing skills, I was able to save thousands of dollars on materials as well as get things like free kindling and firewood.
There are still projects in various stages of planning, waiting for their day to finally come. It’s one of the things that keeps me going and keeps me excited, knowing there’s always at least five more projects waiting patiently in the wings.
(To be concluded tomorrow, in Part 3.)


